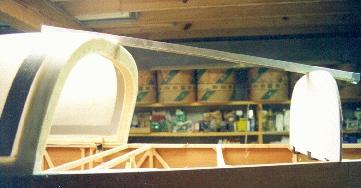
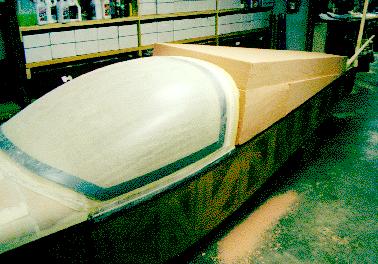
Here's the problem. What to do with that gap between the canopy frame and the tail? Saran wrap?
revised Sept 15, 1996
Here's the problem. What to do with that gap between the canopy frame and the tail? Saran wrap?
The First Attempt
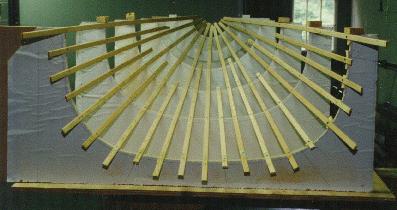
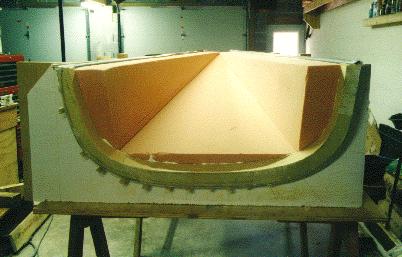
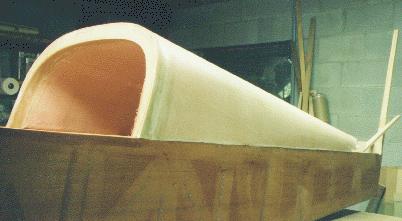
My first move was to create a CAD solid model (using MicroStation) of the shape of my aft deck. A roll bar was constructed and temporarily hot glued to the rear of the canopy frame. The above photo is of my first attempt at female mold construction. The inverted templates were used to define a shape to which formica was attached.
PVA mold release was sprayed onto the formica form and allowed to dry. It was then waxed and buffed. One layer of 5.85 oz BID fiberglass cloth was then laid up on the form. Immediately afterward, 1/4" 4 lb density Last-o-foam was microed on one side and placed in contact with the fiberglass skin, and sandbagged. Here is where the problem lies. You really need to pull a vacuum on this whole affair to ensure that no air pockets or voids exist between the foam and the skin.
After curing, I removed the sandbags and microed the foam again, and applied another layer of 5.85 oz BID glass. This thing was very stiff, and took proabably 50 lbs of force to deflect 1/2 inch between the two legs of the "U" shape that it has become. And it only weighed 8 pounds (maybe high, but call it a roll bar!) But because of the air pockets (I had two 6 inch square voids near the smallest radius part towards the tail), I trashed it. Besides, it changed shape ever so slightly because of differences between my female mold contour and the shape canopy frame / roll bar's rear surface. And it simply has to have a perfect fit there.
So the preceding was how NOT to make an aft deck. I had about 40 hours in it, but at least I could use the mold as a tool to build it the right way, so all was not lost.
I decided that just MAYBE, the KR manual detailed the easiest, most accurate way to do this, although it sure doesn't look like it at first glance. Which leads us to....
The Second Attempt
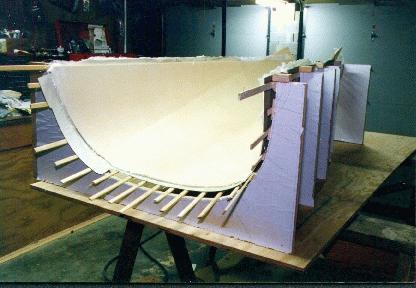
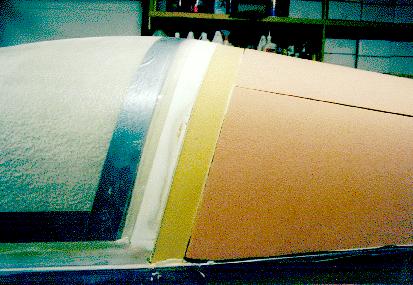
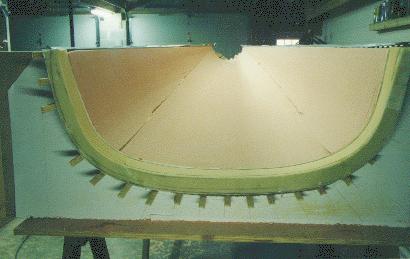
I cut three pieces of 6" urethane foam into pizza like slices that would define my aft deck. The thinner stuff detailed in the manual would be fine, but I only had 6" lying around the house, and it's less likely to deform while sanding. Two 6 foot piano hinges were fastened to the top longeron, to provide a means for making the rear deck removable by simply pulling the hinge pins. After covering the critical hinge joint with duct tape, I microed the foam blocks to the hinges.
I installed an elliptical template at about the horizontal spar location to use as my contour template, and sanded the foam down to contour between the template and the rear of the canopy frame. I used one of my main spar caps with 20 grit self adhesive sand paper stuck to one face, which is just about the perfect length for this job. It took about an hour and a half to completely sand the outer contour. If I had it to do differently, I'd make the deck before even thinking about mounting the horizontal stablilizer. I had the two plywood bulkheads mounted already, and was constantly bumping them with the spar cap. Not good. Don't let it happen to you.
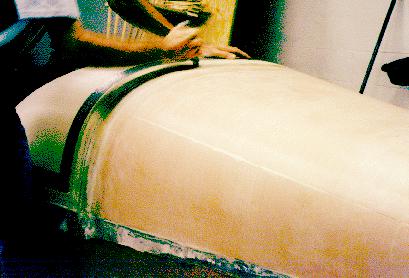
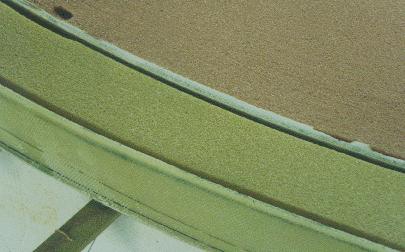
The roll bar was sanded to outer contour along with the rest of the aft deck. About .06" of foam was then removed between the two vertical edges of the roll bar so that 5 layers of 2" 9 oz. fiberglass tape could be floxed and glassed into place between them to complete the roll bar. Two layers of 9 oz BID fiberglass about 8 inches wide, which extended from the canopy (duct tape) across the canopy frame and roll bar, and onto the aft deck. This would help retain the canopy to the frame, and strengthened the roll bar to aft deck connection. Next, the whole deck was laid up with a layer of 5.85 oz cloth, immediately followed by a layer of 1.95 oz "silk weave" fiberglass. This fine layer of glass doesn't require much epoxy (in fact, it soaks up some of the excess from the first layer) and provides a very smooth surface which requires very little filler for pinholes. And as a bonus, the skin is now just a little more resistant to penetration.
After curing, the canopy was cut apart from the aft deck with a razor knife and removed. The hinge pins which now secure the aft deck were pulled and the deck was removed.
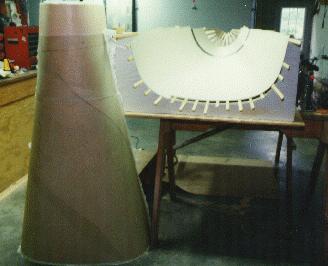
The deck was then hot glued to the female mold that I had made earlier, so that as material is sanded away from the inside, the outer shape is still retained.
It took about two hours to sand away the inside contours of the aft deck, mostly using the same tool I used for the outside contour, and a new tool made from an 8 ft length of 4" PVC pipe covered with 36 grit self adhesive sand paper. The foam was sanded down to 1/4 thick at the rear, to about 2" thick at the top front edge, where the integral roll bar attaches. That's a lot of foam to be carrying around, but it makes the deck a sort of continuous roll bar in the area that matters most.
One layer of 5.85 oz fiberglass was applied to the inside surface of the deck, along with a few additional plies in the vicinity of the roll bar. The roll bar is basically a 2" x 2" curved box beam, with about 6 layers of 9 oz cloth on each of the four sides. Trying to squeeze the two legs of the C together with about 50 lbs of force yields maybe .1" of deflection. This mama is STRONG!
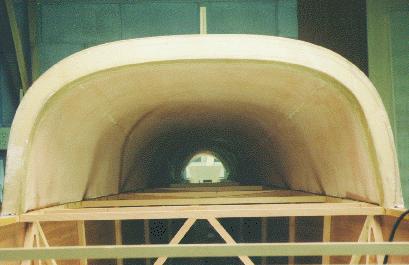
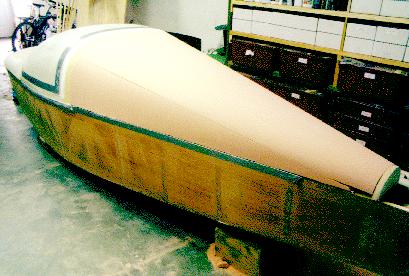
The end result. Perfection has been achieved, at least close enough for KR work. The end result weighs 9 pounds, including integral roll bar.
Return to theMark Langford's Project